Disassembly sequence of piston pumps is incorrect, not knowing which part to disassemble first, unable to start;
Parts of piston pumps are not marked according to the disassembly sequence, making it impossible to reassemble in order later;
Parts are disorganized after disassembly, and after a few days, parts are missing, making it impossible to reassemble;
...
Have you also had such an experience while disassembling a piston pump?Feeling a bit embarrassed?
Although disassembling a piston pump appears simple, there are many details that need attention during the process. Many colleagues, especially new ones, as well as some experienced repair technicians, have encountered such issues when disassembling piston pumps.
Today, based on my practical experience, I've summarized the correct disassembly method for a small hydraulic piston pump. This can be referred to for other brands and types of piston pumps as well. Hope it helps you!
Disassembling the Small Hydraulic Piston Pump Control Device
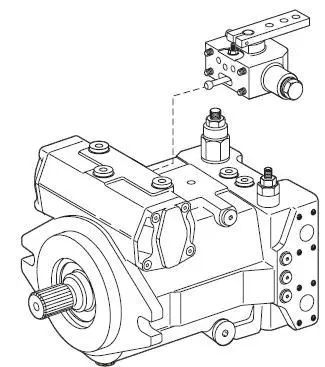
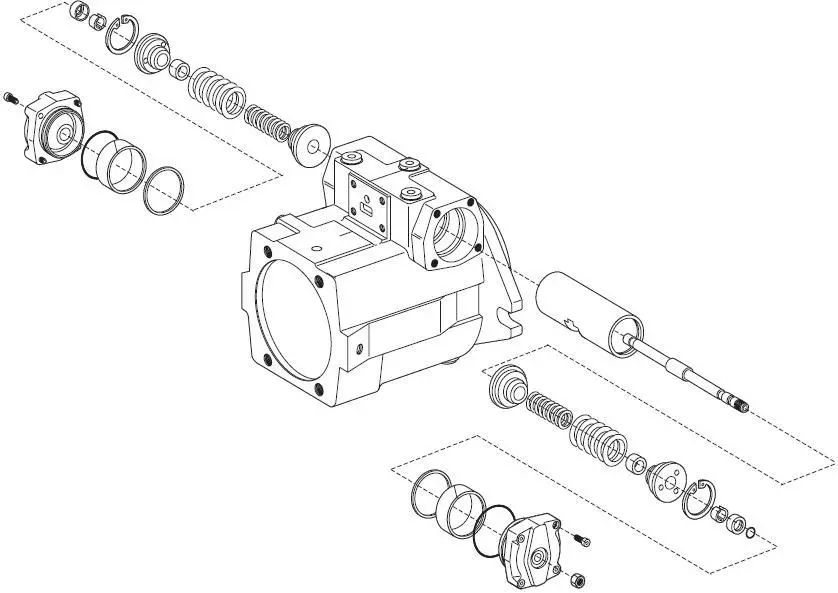
Exploded view of the control elements, as shown below:
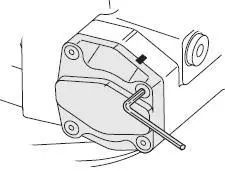
1. Loosen the fixing bolts
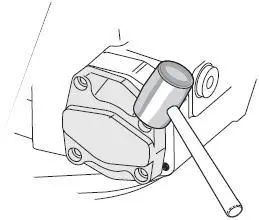
2. Use a hammer (brass or rubber hammer) to tap the back cover of the rotary body to loosen it and remove the back cover
3. Mark the back cover, measure the protruding length of the bolts, and loosen the self-locking nuts
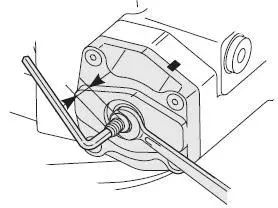
4. Remove the hex socket bolt
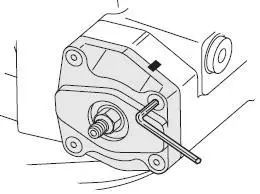
5. Hand-turn the bolt and remove the side cover (ensure hands are clean)
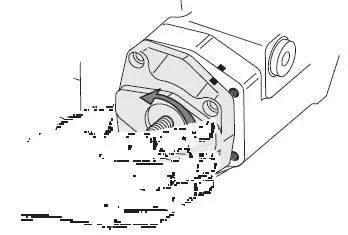
6. Remove the servo piston
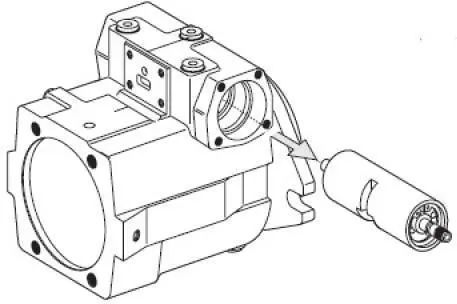
Exploded view of the servo piston, as shown below:
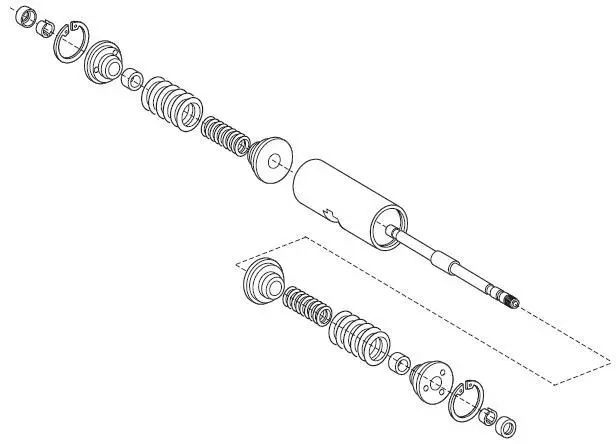
7. Use a special tool to compress the spring
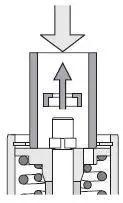
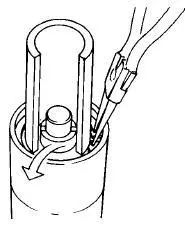
8. Use circlip pliers to remove the circlip.
Note: There are compressed springs inside, be careful to prevent injury
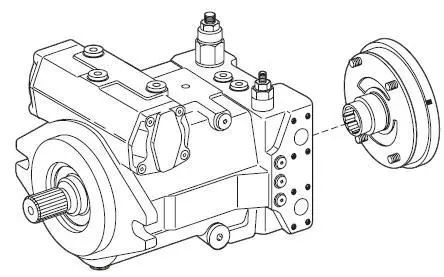
Disassembling the Small Hydraulic Piston Pump Charge Pump
Important: After disassembly, be sure to mark the assembly position to facilitate subsequent assembly
Disassembling the Small Hydraulic Piston Pump Main Body
1. Mark the position of the hex socket bolts(1)
Record the position to which the bolts should be turned(2)
Turn the hex socket bolts to the marked position(3). This step is crucial.
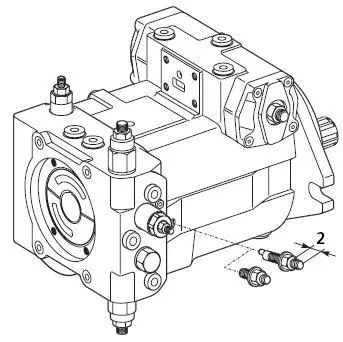
2. Make marks, then remove the back cover(connecting block)
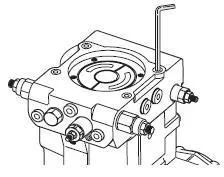
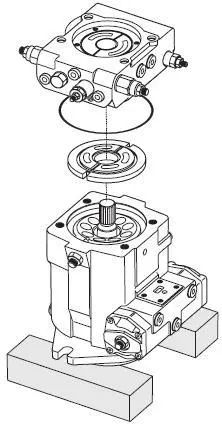
3. Remove the back cover and port plate
4. (1) Press down the cylinder body
(2) Remove the fixed hex socket bolts
(3) Remove the rotary body assembly
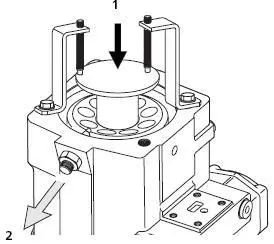
Note: Do not scratch the surface of the cylinder body
5. Remove the cylinder body and piston
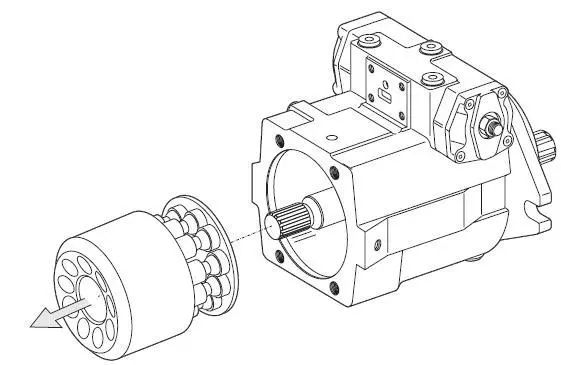
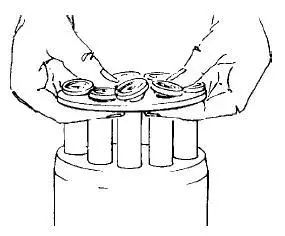
When disassembling the cylinder body assembly, remove the pistons and return plates together with the compressed springs, and remove the ball joints.
Exploded view of the cylinder body, as shown below: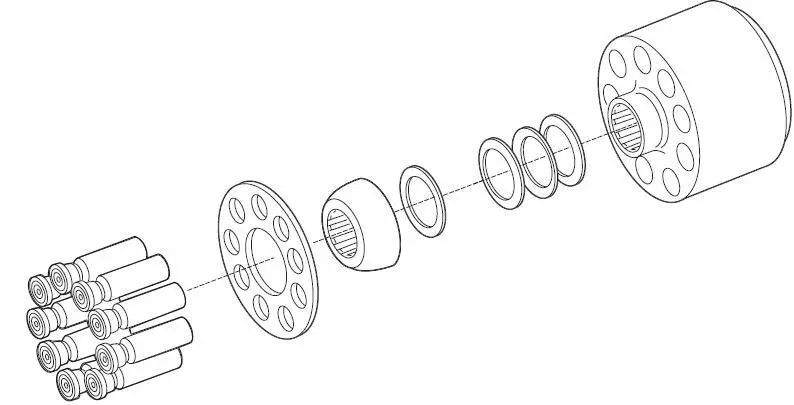
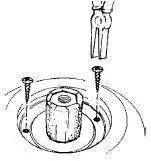
6. Use self-tapping nuts to screw into the uncovered metal parts (two places in total), then use pliers to pull out the seal.
7. Use a soft hammer or brass rod to gently tap the shaft out.
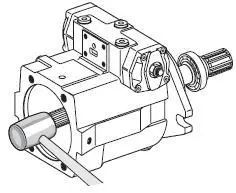
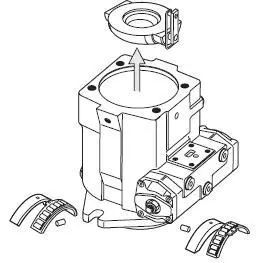
8. Remove the rocker plate and the bearing.
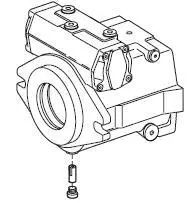
9. Remove the locating pin of the swash plate bearing.
Disassembly Precautions for Small Hydraulic Piston Pumps
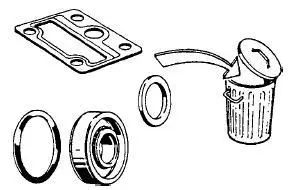
After assembly, all oil ports must be sealed to prevent impurities from entering the pump.
Remember: Seal all oil ports.
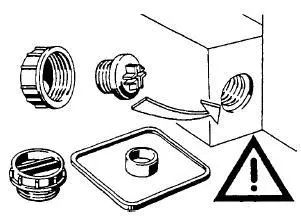
All O-rings can deform over time, and they might get damaged during disassembly. Therefore, all O-rings and seals must be replaced during maintenance.
Remember: Replace all seals.
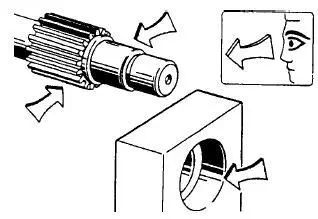
All mating surfaces will experience varying degrees of wear after use, so inspect the wear condition thoroughly.
Remember: Check all mating surfaces for wear and repair the sealing surfaces.
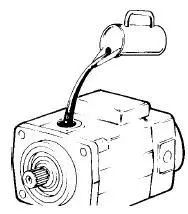
During startup, if the coupling components of the rotating parts are insufficiently lubricated, they can wear or seize up in a very short time. Ensure that oil is added before starting!
Label the components of the small hydraulic piston pump according to the disassembly sequence and arrange them neatly.
 French
 Portuguese
 Russian
 German
 Spanish
 Japanese
 Korean
 Irish
Irish
 Greek
Greek
 Turkish
 Italian
 Danish
 Romanian
 Indonesian
 Czech
Czech
 Afrikaans
 Swedish
 Polish
 Basque
 Catalan
 Esperanto
 Hindi
Hindi
 Lao
Lao
 Albanian
 Amharic
 Armenian
 Azerbaijani
 Belarusian
 Bengali
 Bosnian
 Bulgarian
 Cebuano
 Chichewa
 Corsican
 Croatian
 Dutch
Dutch
 Estonian
 Filipino
 Finnish
 Frisian
 Galician
 Georgian
 Gujarati
 Haitian
 Hausa
Hausa
 Hawaiian
 Hebrew
 Hmong
Hmong
 Hungarian
 Icelandic
 Igbo
Igbo
 Javanese
 Kannada
 Kazakh
 Khmer
Khmer
 Kurdish
 Kyrgyz
 Latin
Latin
 Latvian
 Lithuanian
 Luxembourg
 Macedoniar
 Malagasy
 Malay
Malay
 Malayalam
 Maltese
 Maori
Maori
 Marathi
 Mongolian
 Burmese
 Nepali
 Norwegian
 Pashto
 Persian
 Punjabi
 Serbian
 Sesotho
 Sinhala
 Slovak
 Slovenian
 Somali
 Samoan
 Scots Gaelic
 Shona
Shona
 Sindhi
 Sundanese
 Swahili
 Tajik
Tajik
 Tamil
Tamil
 Telugu
 Thai
Thai
 Ukrainian
 Urdu
Urdu
 Uzbek
Uzbek
 Vietnamese
 Welsh
Welsh
 Xhosa
Xhosa
 Yiddish
 Yoruba
 Zulu
Zulu


